So we’re back again with part 2 of the Hidden Features of Open edX. In my previous post, I wrote about some of the hidden native features of Open edX Studio that are tucked away in the Advanced Settings, so go check that out if you haven’t already.
Here, I’m going to talk about HTML, and yes, I’m cheating by calling this a hidden feature of Studio. HTML isn’t specific to Open edX by any means, it’s the lifeblood of the internet! The reason for this post is because many course authors I’ve worked with don’t realise just how much freedom you have in the Open edX platform. You are free to insert basically whatever you’d like into an Open edX course, provided you have the knowledge to do so.
Don’t worry if you’ve never touched HTML, because it’s actually surprisingly easy given the amount of tools and sites that provide HTML embed codes that you can simply paste. Even for tools that don’t do this, HTML is far easier than you may think, and with a little research you can insert some really cool features. Let’s take a look at some of my favourites.
Surveys

Who doesn’t love a good survey? It’s a great way to gather actionable feedback from your learners about your course, as well as anything else you’d like to know. Through a simple iframe you can embed SurveyMonkey, Google Forms… the choice is yours, so long as it has a web collector. You can find an article on embedding SurveyMonkey surveys on our help page if you want a step-by-step guide.
Tables
Tables are best for displaying groups of data in an easy-to-read format. Your table styling is all set up and ready to go so they look fabulous once they’re inserted… but there’s no button to insert them in the visual editor. Fortunately, this is easy to solve with HTML. Tables are easy to understand once you wrap your head around the tags involved, and you’ll soon be populating tables with whatever data you want to display. Just don’t use them for layouts, or anything other than presenting data, or I’ll hunt you down.
To learn how to build an HTML table from scratch, the Mozilla Developer Network site has an excellent tutorial on the subject. Alternatively, sites like HTML Cleaner have various extra formatting tools you can use to grab HTML snippets that can then be brought into your Open edX course.
Presentations
Presentation slides allow learners to take in content at their own pace, and still have a place alongside video if used correctly. You can use the Google Drive XBlock to do this with Google Slides, but if you want full control, you can iframe it in yourself with a little HTML, and do the same thing with anything else that generates an embed code like this, such as PowerPoint Online.
Live Web Chat
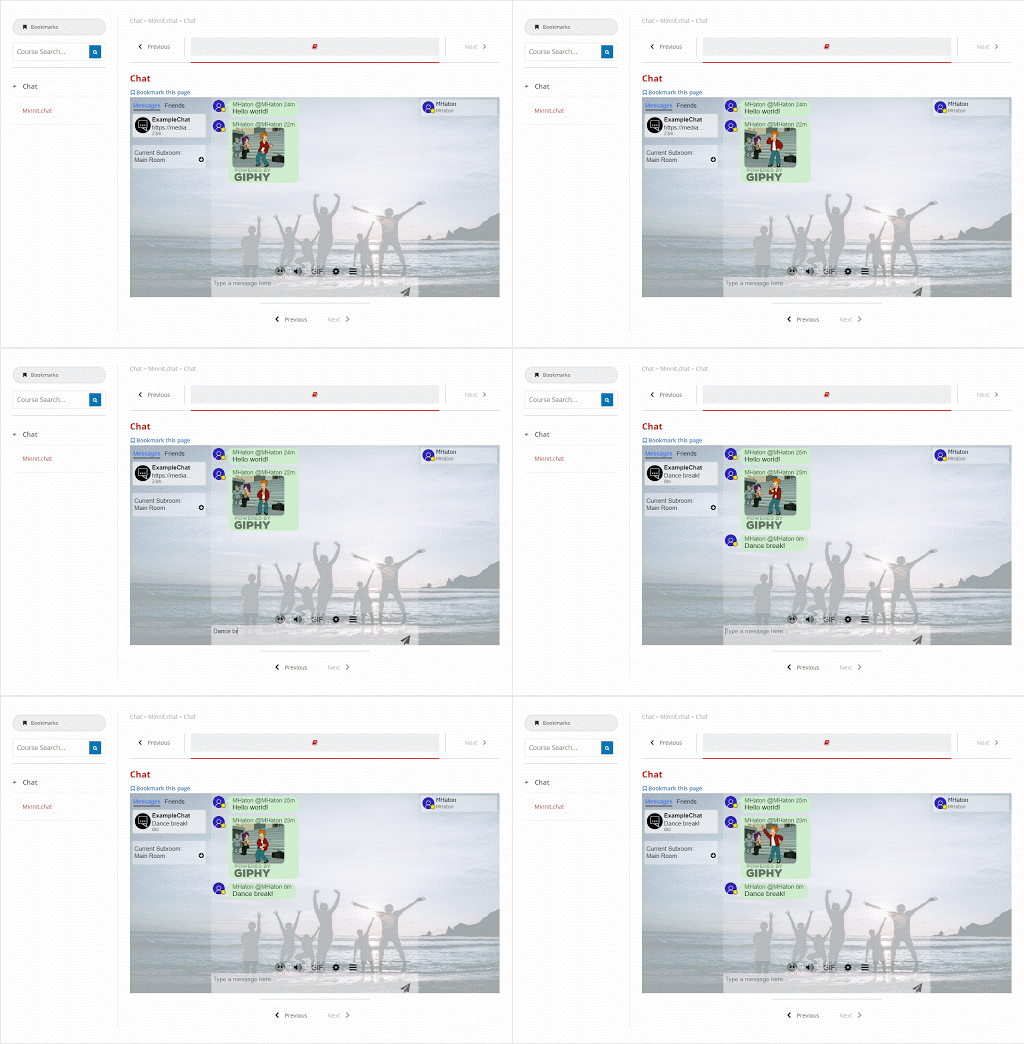
Want to facilitate real-time collaboration within your course to engage your learners? Try dropping in a chat service.
Some services support embedding a chat room via iframes, such as Rocket Chat, minnit chat or Dead Simple Chat to name a few. We don’t recommend this for large MOOCs, as you’ll have to monitor and moderate it (like any social tool, but faster), but for small, instructor-led classes, this can be a powerful option.
One important caveat is that unless you use a service that offers iframe authentication (which can be extremely complex), you’ll have to ask learners to sign into whatever third-party service you choose. There are also accessibility implications for using live chat or any external tool in general, so ensure that your choice to include chat is one you’re making because it adds value to your learners – not just because it looks cool.
FontAwesome icons
Fancy vector icons like those found in the Font Awesome icon set are used everywhere lately, including within your Open edX site. This means you can use them in your content too to give your signposts and content that extra visual kick. You and your learners have probably seen most of these a thousand times and not even thought about it, because they’re everywhere. Why not make use of them in your courses too?

Check out our article on what exactly FontAwesome icons are, as well as why and how to insert them into Open edX.
Screen Reader-only content
Screen readers enable vision-impaired learners to engage with your courses. If these learners require a little additional instruction or information that wouldn’t be useful to sighted learners (like presenting information represented by a fancy FontAwesome icon, for example), just add class=”sr” to whatever element you want to hide from sighted users but present to screen readers. This is a CSS class already present on your Open edX site, so all you have to do is add it to your HTML:

Make sure you use this appropriately. If information is useful to everyone, show it to everyone! If something has been conveyed visually that would be lost if you can’t see it, this kind of text helps everyone complete your course.
Custom CSS and JavaScript
This is something that needs a bit more technical knowhow to make full use of it, but for those who know how to do this already – consider this your official heads-up that <script>, <link> and <style> tags work as normal in any page containing HTML components. Have at it.
Unlike many other content management systems, you are not limited in what elements you can utilise within your course. We likely won’t be able to help you if this goes wrong, but you’re adults – restricting your creativity and technical expertise is not what we do here. Make some cool stuff and show us once you’re done! In order to prevent the visual editor breaking your code, we recommend inserting any fancy custom code into Raw HTML components.
This enables you to do a huge variety of things. Additional interactive elements, custom layouts and templates, the sky’s the limit. Check out these examples, including some kindly contributed by our customers, that really show off this flexibility:
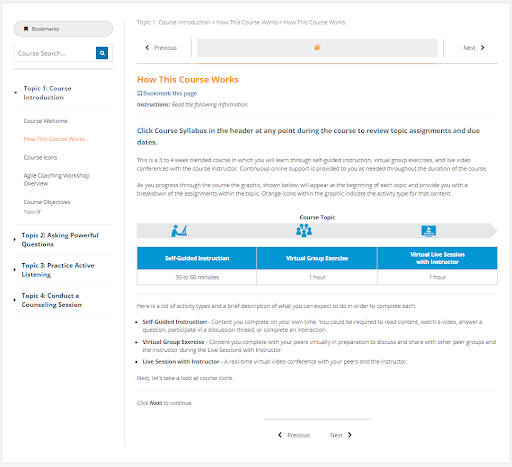
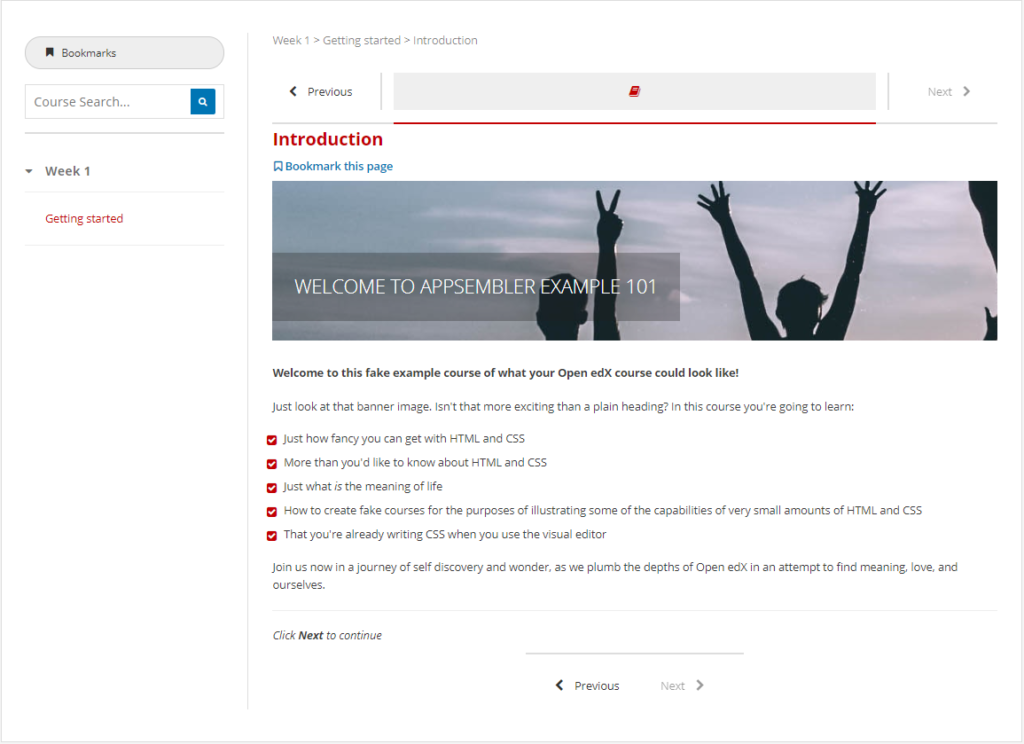
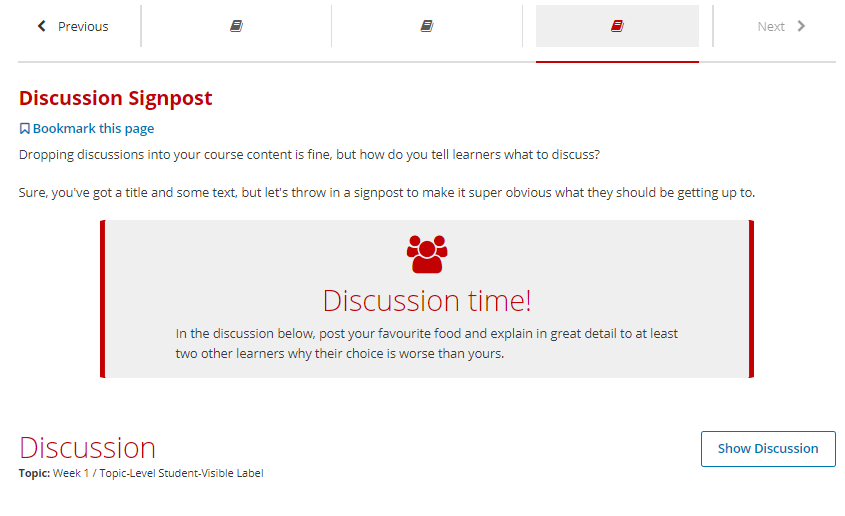
If you want to wield this power for your own courses but don’t know where to start, HTML and CSS are actually extremely easy to pick up and start learning. In the future we hope to put together a course specifically about learning how to use these languages in Open edX, as well as providing you with some templates of our own that you can use. To tide you over until that exists, however, I wholeheartedly recommend Free Code Camp, and of course our good friends (and customers!) over at The Gymnasium.
These features are still not the full picture, there’s a million and one other feature flags, toggles, switches and doodads that are buried away in Open edX, and we’ll be covering these in part three, where our CEO Nate will take the reins to walk you through some really interesting, but truly hidden features.
Doing anything cool in your own courses? Share it with us! We’d love to see it.

